This tutorial assumes that you completed one of the introductory tutorials. In this tutorial we will learn how to add additional sensors to the scene which in turn can have different sensor parameters and are even different types of sensors.
Requirements:
If you have not downloaded the sample scene yet, get it here (table_tutorial_color.blend)
- Start BlenSor
- Load the table_tutorial_color.blend scene. Via File->Open
- If you have not activated the sensor simulation add-on by default yet, activate it like in this tutorial
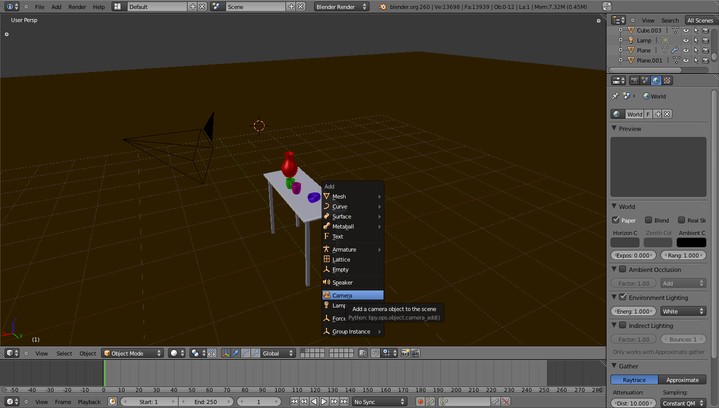
- To add a new sensor to the scene you need to add a new camera. Press Shift+A and select Camera from the popup menu
- Position the seconds camera to your liking
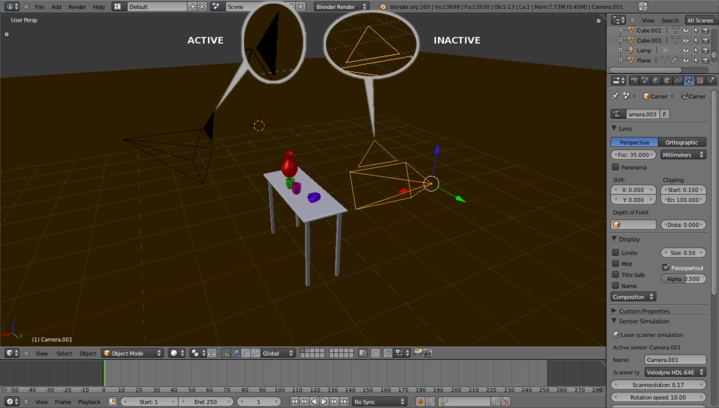
- Until now the active camera is still the left one.
This is signaled by the filled triangle above the camera object, that also shows the UP direction of the camera.
-
Note that it is not enough to just select the second camera object to scan the scene with this sensor
-
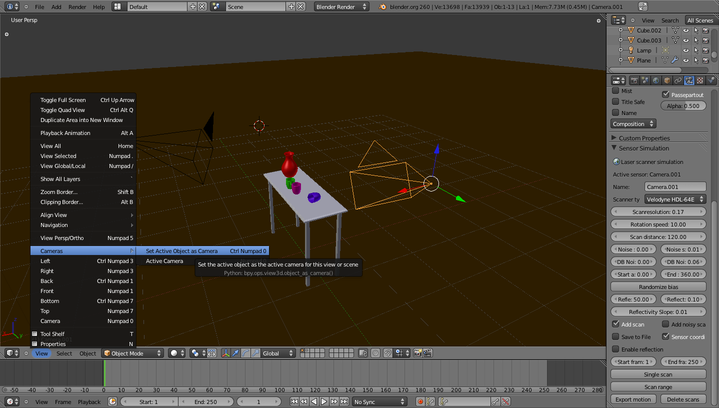
You need to set the second camera as the currently active camera by selecting it and either pressing Ctrl+Numpad 0 or by doing it through View->Cameras->Set Active Object as Camera
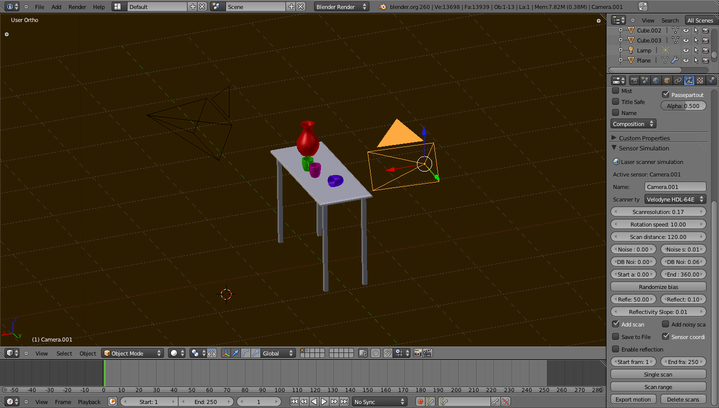
- When a camera is active (filled triangle) and selected you can scan it with the parameters of this sensor
Results
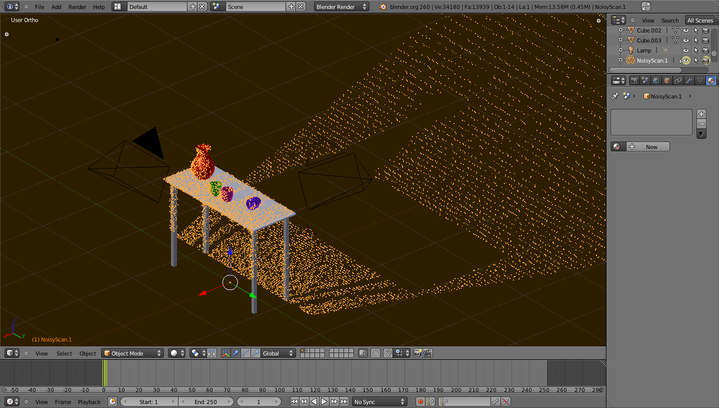
This is a Time-of-Flight camera scan from the first position
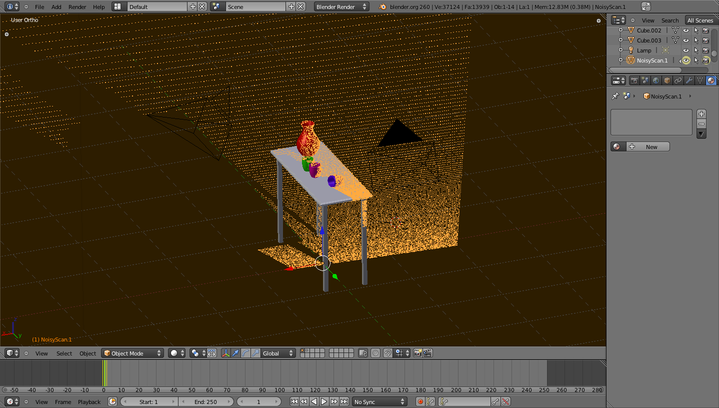
This is a Time-of-Flight camera scan from the secondt position
**
 Blender Sensor Simulation